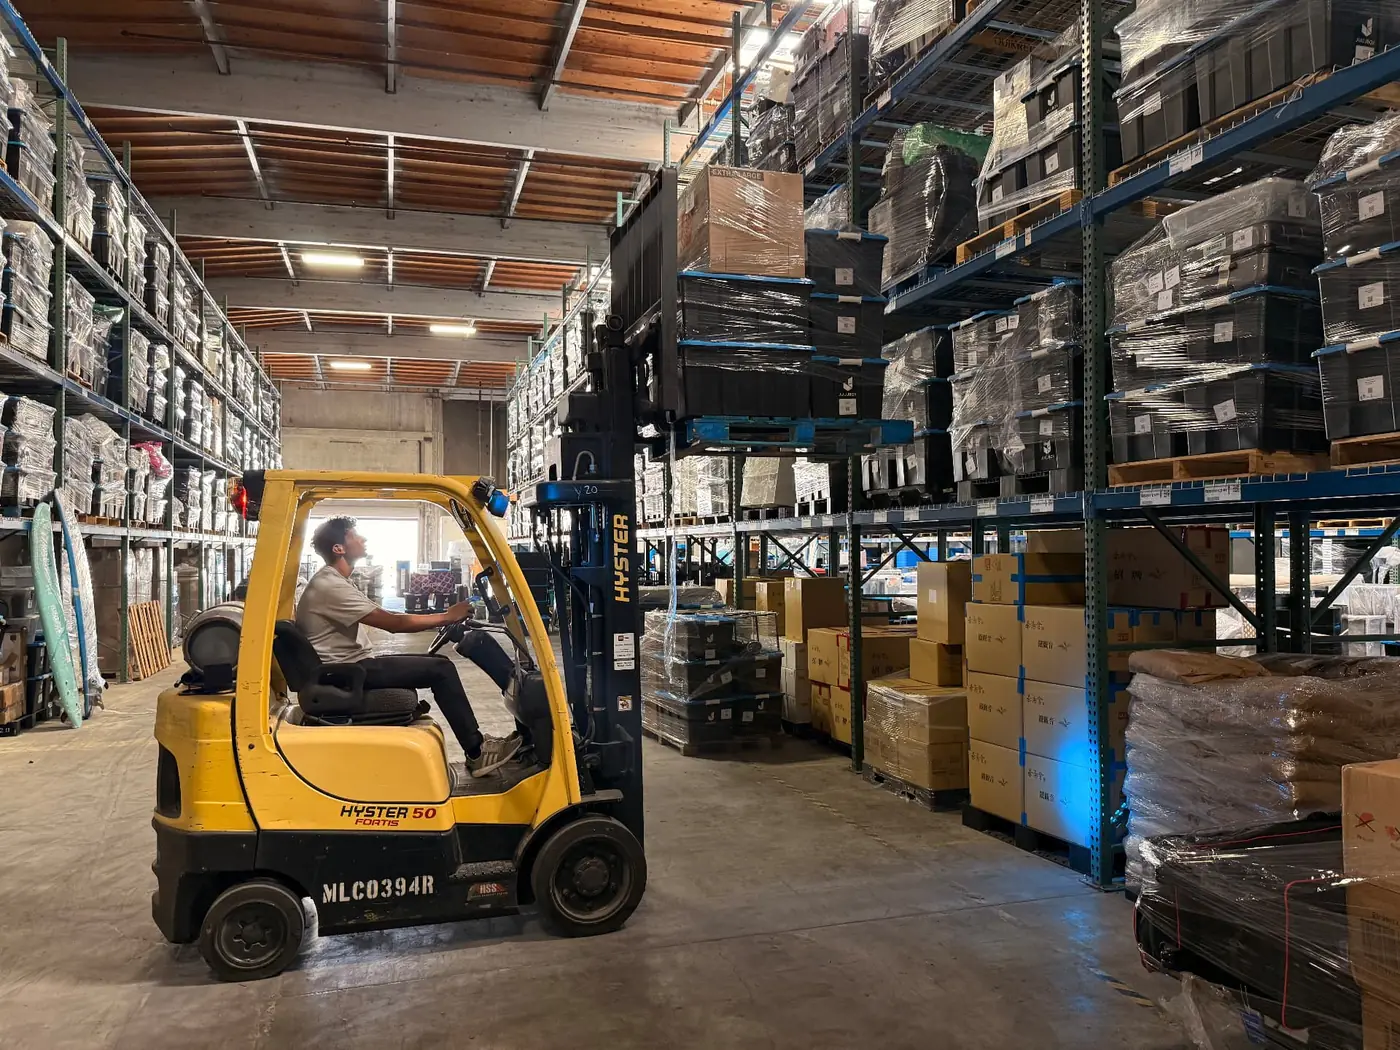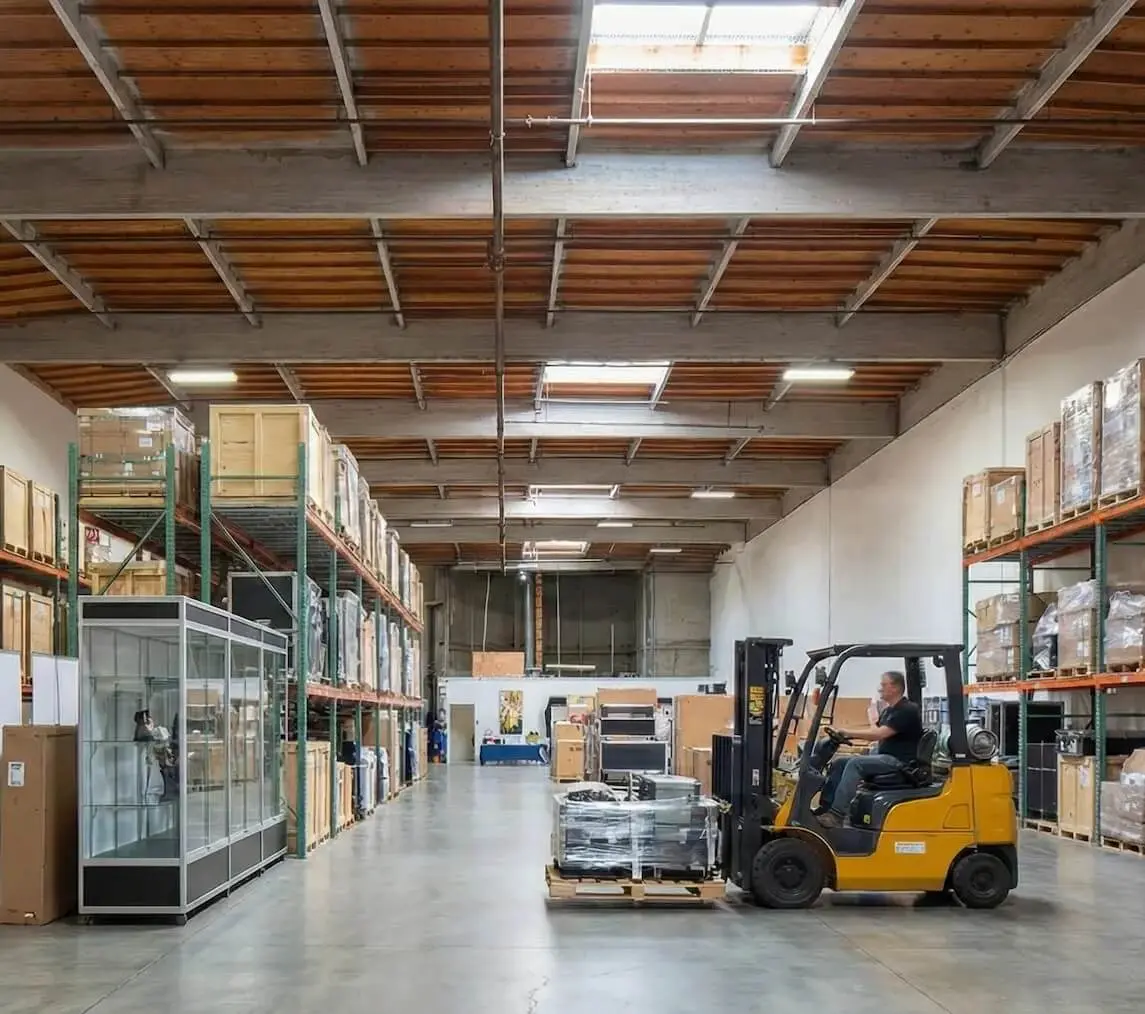
Storing a trade show booth properly means four things: inventory every item before it goes away, pack each component the way it travels, protect graphics and electronics from heat, pressure, and dust, and keep the whole kit in one place where you can see what you actually have. Do those four things and the next show starts with a packing list instead of a scavenger hunt.
Most booth damage does not happen on the show floor. It happens in the weeks after a show, when tired staff dump cases in a corner, promise to sort it later, and never do. The steps below are what a warehouse team does on arrival, written so an in-house team can follow the same process.
Inventory before anything goes into storage
Nothing should go into storage unrecorded. The inventory is what lets you answer, months later, whether you still own two counters or one, and whether the backwall graphic is the current version.
Photograph every item as it comes out of the truck. One wide photo per crate or case, then close-ups of anything with visible wear: chipped laminate, bent frame tubes, scuffed counters, cracked monitor mounts. Timestamped photos settle later disputes about when damage happened.
Write down quantities, not categories. “Swag” is not an inventory line. “312 branded pens, 84 tote bags, 40 T-shirts (12 S, 18 M, 10 L)” is. Counts are the only way to know what to reorder and when, and they prevent the most common avoidable expense in exhibit programs: reprinting something you already own.
Note condition next to each line, in plain language. Good, usable, needs repair, retire after next show. That single column tells you what to budget for before the next event, and it turns your storage list into a maintenance plan.
This is exactly what a catalog-first storage provider does at receiving. Every crate, case, and carton is opened, photographed, counted, and logged to an item-level record before it goes to a rack, which is why managed trade show booth storage can tell you what you own without anyone driving to a facility.
Packing: store it the way it ships
The best storage configuration is the shipping configuration. Crates and road cases were engineered to protect their contents in freight, so leave them packed and show-ready rather than emptying components onto shelves. Every extra unpack and repack cycle is another chance to bend a frame or lose a knob.
Keep foam, dividers, and custom cutouts in place. If a piece of foam is torn or a divider has collapsed, replace it before storage, not the week of the next show. Cut replacement foam to the same shape rather than filling the gap with bubble wrap.
Bag hardware with the display it belongs to. Feet, knobs, bolts, allen keys, shelf pins, and light clamps should live in a labeled zip bag taped or strapped inside the case for that component. Loose hardware in the bottom of a crate becomes lost hardware, and a $2 knob can hold up an entire install.
Label the outside of everything, plainly and durably. A good case label states contents, which booth or configuration it belongs to, and setup order: “Case 2 of 4 – 10x20 backwall frame – build first.” Add a laminated packing list and setup instructions inside the lid so the person unpacking is not the only person who knows the sequence.
Stack by weight and never on the graphics. Heavy crates go on the floor or a rack deck, lighter cases go on top, and nothing sits on top of a graphic tube or a fabric bag. Store cases closed and latched so dust and pests stay out.
Graphics, fabric, and printed materials
Graphics are the most expensive part of a booth per pound and the easiest part to ruin in storage. Rigid and vinyl panels should be rolled, never folded, face-out around a wide-diameter core so the printed surface is not compressed into itself. Store the roll in a hard tube or graphic case, standing upright or lying flat with nothing on top of it.
Fabric graphics are the exception to “never fold.” Fold them loosely along their existing seams, keep them in a dedicated clean bag, and keep them away from anything oily or sharp. Tight folds under weight leave creases that steaming will not always remove.
Keep graphics out of direct sunlight and off concrete floors, where moisture wicks upward into edges and mounting tape. Do not lean a rigid panel against a wall for months. It will hold that bow permanently.
Set reprint triggers so faded and outdated graphics are caught before move-in. Reprint when messaging, pricing, logos, URLs, or QR codes change, when visible creasing or delamination appears, when colors have drifted from the current brand palette, or when a panel has been deployed enough times that edges are fraying. Retire literature with dated content instead of storing it another year.
For printed collateral, store in the original cartons, keep the box count on the inventory, and note the print date on the outside. That makes it easy to pull the older batch first and to see when it is time to reorder.
Electronics and demo tech
Monitors, tablets, laptops, lighting, speakers, and demo units should go back in their original cases or foam-lined hard cases whenever those still exist. Original packaging is shaped for the device and is usually the best protection you own for free.
Bag cables per device, not in one bin. One labeled bag per monitor holding its power cable, video cable, and mount hardware saves more setup time than any other single habit. A shared cable bin guarantees that someone spends the first hour of move-in untangling and testing.
Remove batteries from anything that will sit unused. Alkaline cells leak and destroy contacts, and lithium packs degrade when left fully charged or fully drained for long periods. Store spare batteries separately and check dates.
Store screens upright in their designed orientation, never flat with weight on the panel, and keep them off the floor. Wipe dust and fingerprints before packing so nothing gets ground into the surface.
Log serial numbers and asset tags with your inventory. It matters for insurance claims, warranty service, and knowing which of three identical tablets has the demo software loaded on it.
Where to store it: the real options
Office or garage. Free in cash terms and workable for one pop-up display. It costs floor space, exposes graphics and electronics to heat and humidity, and makes one person the unofficial warehouse manager. Deliveries arrive when nobody is available to receive them.
Self-storage. Predictable rent and easy to set up, but the facility only rents you the space. Your team still receives freight, counts inventory, packs, labels, and loads. Confirm the facility allows business inventory and carrier deliveries, and that access fits your cases and any pallet jack you need.
Exhibit house. The strongest option when the same company designed and built the booth and repairs it between shows. The limitation is scope: swag, literature, uniforms, product samples, and shipments from unrelated vendors may sit outside the contract, which leaves the rest of your event kit scattered.
Managed storage hub. A warehouse that receives from any vendor, catalogs items individually, stores everything show-ready, and ships to the show on your schedule. It suits programs with multiple vendors, several shows a year, and no one internally who wants to own logistics.
For side-by-side numbers on all four, see how much trade show booth storage costs. If the decision is about where freight goes for a specific show rather than between shows, read advance warehouse vs. direct to show.
The between-shows checklist
Run this list in the two weeks after every show, while the details are still fresh. It is short on purpose.
- 1Check in every crate, case, and carton against the outbound packing list and flag anything missing.
- 2Photograph and document damage while the show is recent enough to file a claim.
- 3Repair or order replacement parts now, not the week before the next show.
- 4Verify counts of swag, literature, and giveaways and record the remaining quantities.
- 5Restock consumables: pens, tape, zip ties, batteries, cleaning wipes, spare hardware.
- 6Clean and inspect graphics, then set aside anything creased, faded, or outdated for reprint.
- 7Test electronics, update demo software, and remove batteries from anything going to storage.
- 8Repack each case in shipping configuration and confirm labels and interior packing lists match.
- 9Update the master inventory with condition notes and current photos.
- 10Confirm the next show's dates, target move-in window, and receiving deadline, then set the ship date backward from it.
Teams that run this list stop discovering problems during move-in. Teams that skip it pay rush fees to solve last show’s problems. If you would rather the check-in, cataloging, and repack happen without your team touching a case, that is the work included in Juujbox booth storage.
Frequently asked questions
Can I store a booth in my garage or office?
A lightweight pop-up display with one or two cases can work in an office closet or a dry garage that stays out of direct sun and away from standing water. It stops working once crates need a pallet jack, carriers deliver on a schedule nobody is there to meet, or several people need to know what is in inventory. Garages also expose graphics and electronics to heat and humidity swings that shorten their life.
How should I store trade show graphics?
Roll rigid and vinyl graphics face-out around a wide-diameter core and store them in a tube or hard case, standing upright or lying flat with nothing on top. Fabric graphics should be folded loosely along original seams and kept in their own bag so they do not pick up grease or dust. Never store graphics under crates or leaning against a wall, where they take a permanent bow.
How long can a booth sit in storage?
A properly packed booth structure can sit for years. The parts that age are graphics, printed literature, adhesive-backed signage, batteries, and anything with pricing or dated messaging on it. Plan a physical check at least once a year: open the cases, unroll one or two graphics, power up the electronics, and replace what has faded, curled, or expired.
Should I insure my booth in storage?
Usually yes. A custom exhibit can represent a significant replacement cost and a missed show if it is damaged. Check whether your business property policy or inland marine coverage extends to property stored off-site and in transit, and confirm what a storage provider covers versus what remains your responsibility. Keep a current photo inventory with values so a claim is straightforward.